Well, as we will find out for sure this coming Sunday whether we will be moving soon and we will be going to Arizona next week, we are trying to use up all of our food at our house, that way we have less waste :) So, there isn't much we are buying this week. In our cupboards we already have rice, potatoes, pizza kit, pork chops, chicken breasts, meat substitutes, beans, and shredded cheese. Plus, we have lots of fillers for lunches like granola bars, fruit leather, and crackers.
Meal Plan 4/30-5/6
Monday:
Breakfast: cereal
Lunch: sandwiches, chips, fruit
Dinner: pizza and salad
Tuesday:
Breakfast: cereal
Lunch: sandwiches, chips, fruit
Dinner: easy garlic chicken,
roasted lemon cauliflower, corn
Wednesday:
Breakfast: cereal
Lunch: sandwiches, chips, fruit
Dinner: pork chops, meatless meatballs, parmesan
baked potatoes
Thursday:
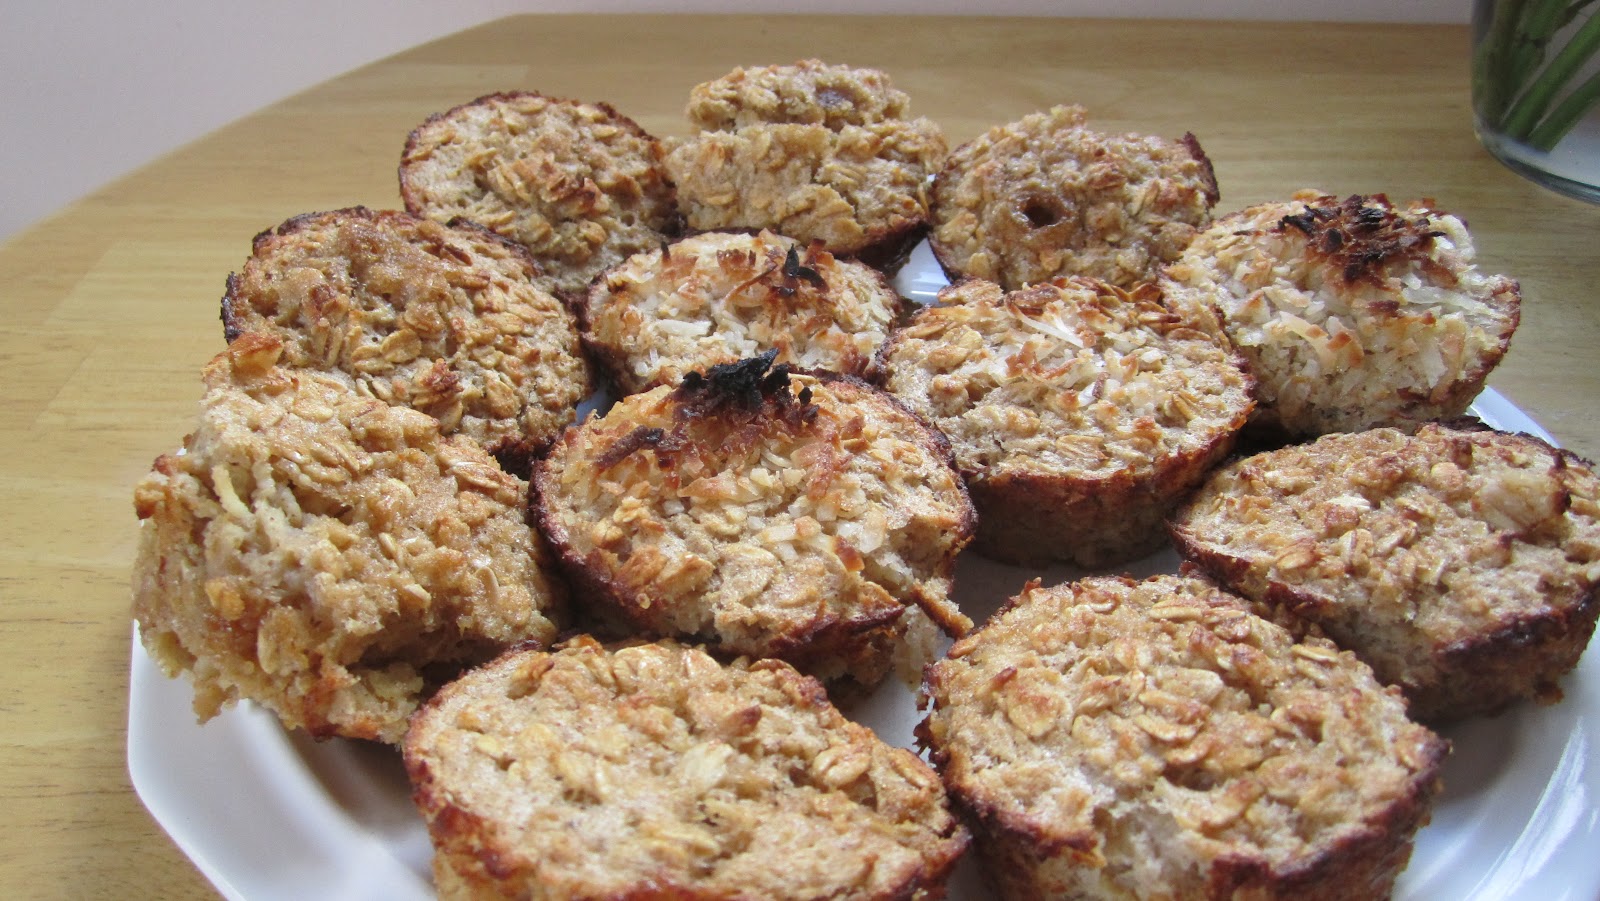
Breakfast: oatmeal square
Lunch: sandwiches/fruit/chips
Dinner: boiled red potatoes, chicken/fake burger
Friday:
Breakfast: cereal
Lunch: sandwiches, chips, fruit
Dinner: rice, beans, and cheese
Saturday:
Breakfast: donut mix in cupboard (cinnamon)
Lunch: rice, beans, cheese
Dinner: tortellini
Sunday:
Breakfast: cereal
Lunch: leftovers
Dinner: rice mix in lazy susan, salad, burritos
Groceries: fruit(3.37), , bread (.99),
chips (1.19), sliced cheese (1.99), garlic cloves (2.00), parm (1.99), yogurt (1.79), welch's fruit fizz(2.89), 2 cinnamon pretzels(4.78), feta cheese(1.99), cheese sticks (2.49), blueberry shredded wheat (1.99), popcorn (1.49), mozzarella (2.99), tortillas (.35), tortilla chips (1.19)
Grand Total: 30.28
Since we are using up what we have at home, we knew we'd be way under budget. So, we added a few fun items to our list like the welch's fruit fizz and two of the cinnamon pretzels since we knew they'd be eaten :) Plus, Josh enjoys late night nachos and quesadillas, how he stays so thin I will never know haha
For more meal time ideas, check out Meal Plan 3